Productivity Apps for SwiftMQ
Empower SwiftMQ with Flow Director Apps.

Azure SSO
Provides Single-Sign-On for Flow Director Apps with Microsoft Azure Active Directory.
Prometheus Monitoring for SwiftMQ
Provides metrics of the connected SwiftMQ router network in native Prometheus format via REST.
Realtime Process Monitoring for REST
Process Monitoring & Automation in Realtime for REST Web Services
Realtime Process Monitoring for SwiftMQ
Process Monitoring & Automation in Realtime for SwiftMQ
SwiftMQ / Kafka Bridge
Create bridges of queues and topics between SwiftMQ and Kafka. Instantly adds JMS, AMQP, MQTT to Kafka.
SwiftMQ / SwiftMQ Bridge
Create bridges of queues and topics between SwiftMQ routers.
SwiftMQ CLI
Instant web-based CLI Terminal on every SwiftMQ Router of your Network.
SwiftMQ Explorer
Complete web-based multi-user administration solution for SwiftMQ Router Networks.
SwiftMQ Monitoring & Alerting
Complete web-based multi-user monitoring and alerting solution for SwiftMQ router networks.

Create your own App
Create your own logic by connecting components to flows, intercept and manipulate messages in transit and add dashboards to display your data in real-time. No need to develop and deploy native clients.
Learn More
Use Flow Director as your Message Broker
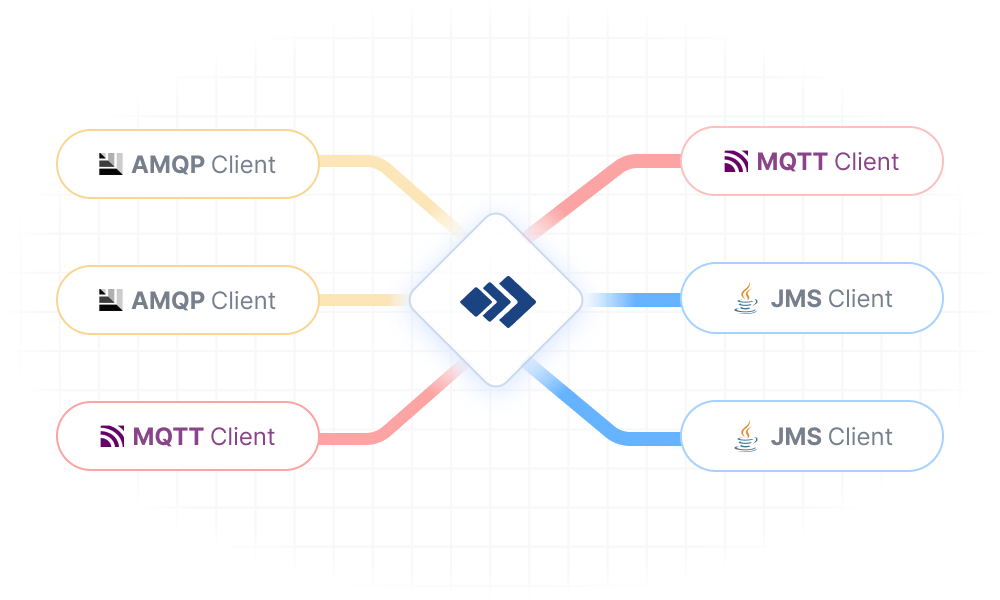
Flow Director embeds a full-featured SwiftMQ CE Router that you can use as your message broker. Serve your AMQP, MQTT, and JMS clients just like a standalone SwiftMQ Router.
Learn MoreWant to stay updated?
SwiftMQ is constantly evolving and we’re here to help along the way. Stay updated with our newsletter for more details.